
A Felted Rabbit
Wool roving is a rewarding material from which, much like clay or any other equally pliable substance, you can create little keepsakes in any shape. This time I am using the dry felting technique to make a plump rabbit with a special significance, which I will reveal in the near future - to keep a little air of suspense.
Wool roving is a rewarding material from which, much like clay or any other equally pliable substance, you can create little keepsakes in any shape. This time I am using the dry felting technique to make a plump rabbit with a special significance, which I will reveal in the near future - to keep a little air of suspense.
Materials needed:
· wool roving (white, black and red);
· a special felting needle;
· a fairly large sponge.
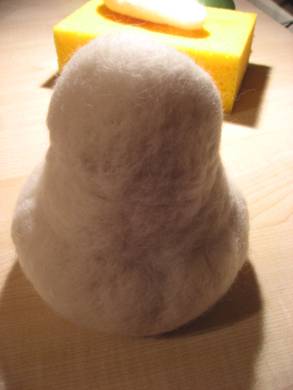
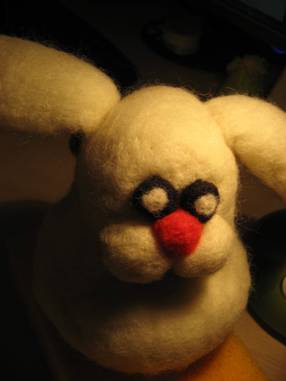
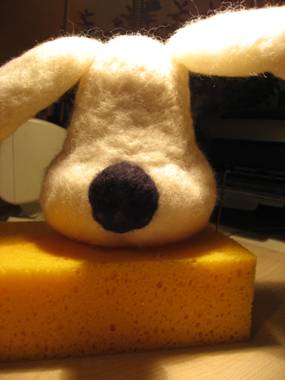
Start by forming two balls, one larger and one smaller. Then place one on top of the other and carefully felt them together with the needle.
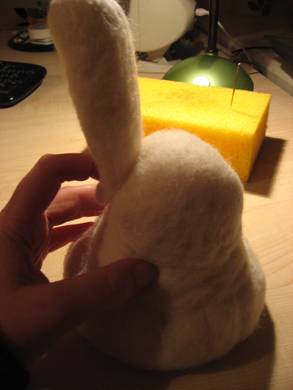
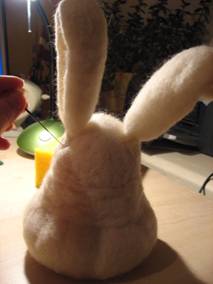
Felt the ears separately, giving them the desired shape and indentation. Once the ear pieces are ready, felt them onto the rabbit body you have already made.
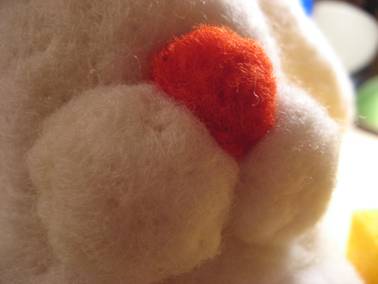
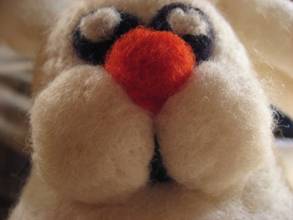
Next comes the face. Felt two small wool roving balls onto the cheek areas, then position and felt on a small red nose in the middle.
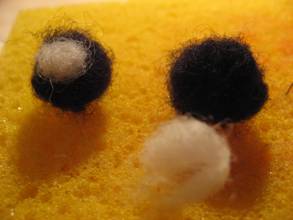
Form the eyes separately on the sponge using black and white wool roving. Then felt them on above the cheeks on either side of the nose. If desired, you can also make separate whiskers and insert them into the cheeks.
Finally, make a cute little tail from black wool (for contrast) and felt it onto the back of the rabbit. If you like, you can also make a little tie-on scarf or a checked bow for the rabbit. A couple of evenings of diligent needling and the little keepsake is ready! :)

comments