
How to Clean a Computer Keyboard?
With spring cleaning under way, it's time to clean the computer keyboard too. The main causes of keyboard dirt are dust (which is mostly dead skin), stuck-on grime and spilled liquids of various types (and sweetness levels).
With spring cleaning under way, it's time to clean the computer keyboard too. Keyboard dirt can be divided into three levels of dirtiness:
- Dusty;
- Dusty, crumby and visually grimy;
- All of the above, plus something spilled on it.
Before tackling keyboard cleaning, it is worth first checking whether it actually works. Although a desktop keyboard is easy to disassemble, it is practically never repaired. For laptops too, in the event of keyboard damage, the entire keyboard unit is most often replaced rather than individual keys.
The main causes of keyboard dirt are dust (which is mostly dead skin), stuck-on grime and spilled liquids of various types (and sweetness levels). There is quite a small chance of damaging a keyboard by spilling water on it, but a much greater chance with sweet drinks, tea or coffee.
Basic Maintenance
Basic maintenance usually involves "shaking out" the dirt, vacuuming with a vacuum cleaner and wiping with a damp cloth or wipes. When cleaning keys with alcohol or acetone-containing liquid, bear in mind that it will remove both the dirt and the lettering on the keys (unless it is engraved), especially if the keyboard is white with black letters.
Full Maintenance
Full maintenance will require disassembling the keyboard. Stories have been heard that older keyboards had keys that could be pulled out, carefully washed and put back. A more drastic method, if the keyboard has become so dirty that the question arises whether to throw it away or wash it - you can try washing it in soapy water without disassembling it. Both of these methods I have not tried and for understandable reasons do not recommend. Although there is very little electronics inside the keyboard itself, washing it this way (and not drying it properly afterwards) risks something starting to corrode and the keyboard eventually ceasing to function. In principle, what you would want to clean is the upper part of the keyboard (where the keys are).
Before disassembling the keyboard, it is worth checking whether it is actually designed to be taken apart. In any case, the process is invasive, so there is also a chance of breaking something.
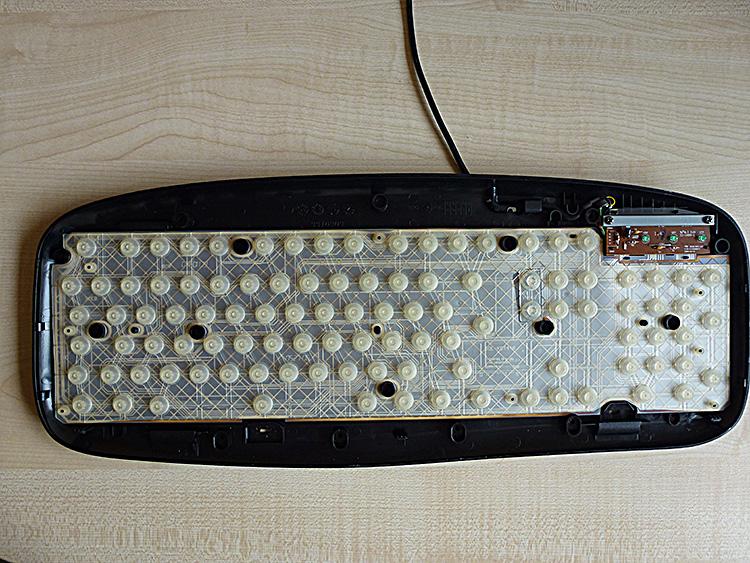
A Logitech keyboard came my way. First, unscrew all the screws from the bottom. The keyboard has clips along the edges, so even with the screws removed it may not come apart so easily.
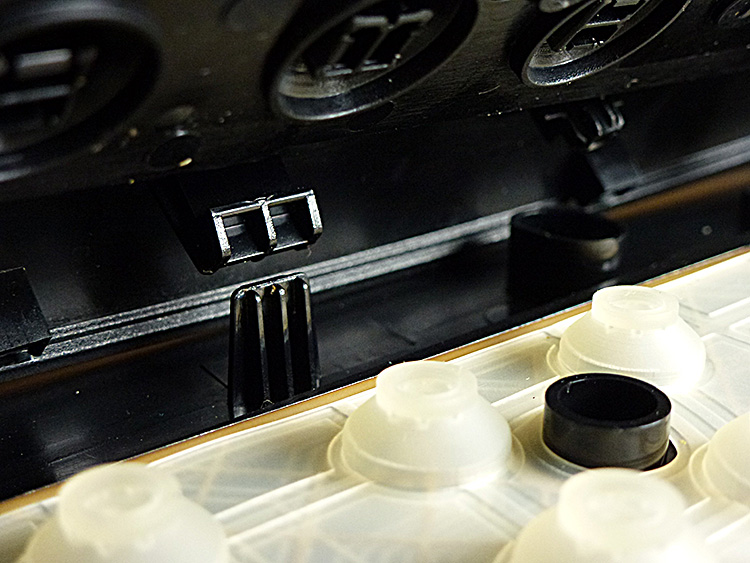
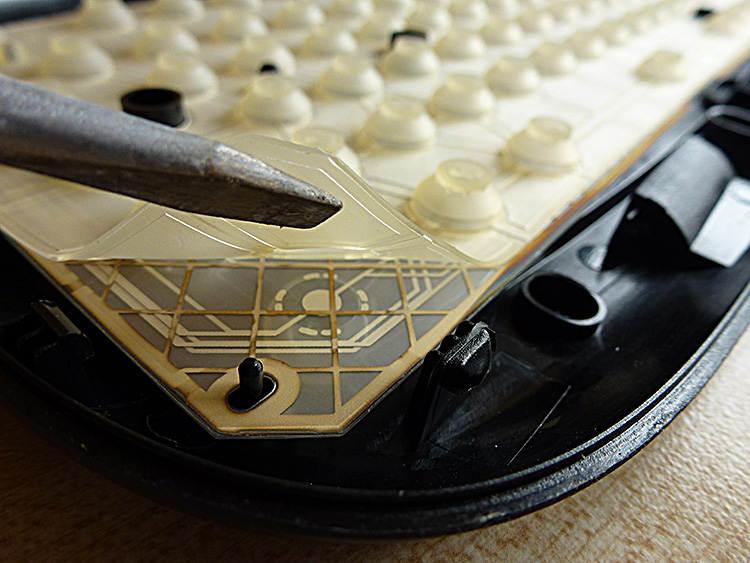
As can be seen in the illustrations, the electronic part of the keyboard is almost always located in the upper right corner. The pressable part of the keyboard consists of plastic keys, contact membranes and rubber "domes" which also serve as a kind of springs. All layers can be removed (and cleaned as needed). If you happened to spill something sweet and sticky on the keyboard, after which the keys started "sticking", the spilled areas will most likely be easy to spot.
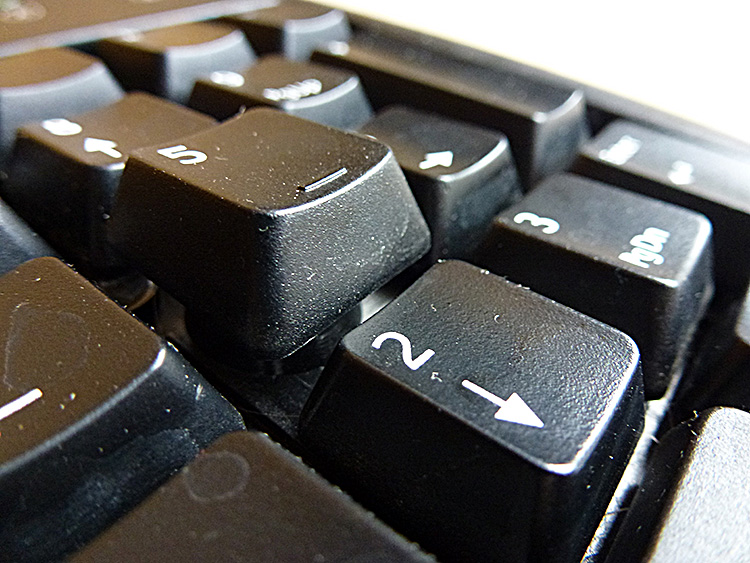
The upper part of the keyboard, which consists only of plastic, can be washed with soapy water, a water spray, warm water and a brush if necessary. After washing, it is advisable to wipe the keyboard well and leave it to dry with the keys facing downwards. Residue can form on poorly wiped parts (as visible in the last photo), which of course can also be wiped off with a damp cloth afterwards.
comments